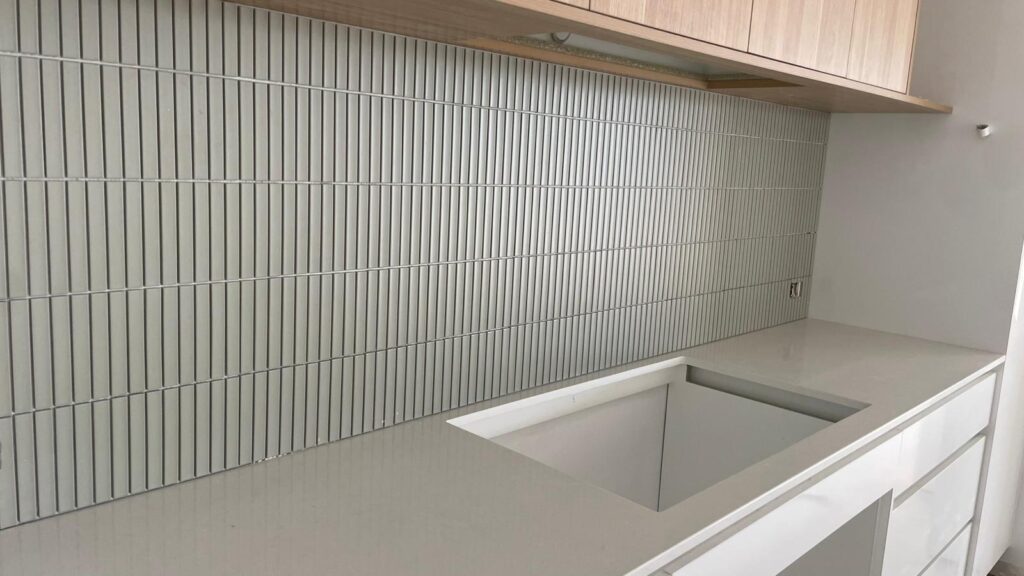
If you’re thinking about upgrading your home or office flooring, installing tiles is one of the most durable and stylish choices. Tile floors not only enhance the visual appeal of your space but also provide a long-lasting surface that’s easy to maintain. In this guide, we’ll walk you through the process of how to install tile floor properly, from preparation to finishing touches.
At First Quality Tiling, we specialise in professional tile installation services, including ceramic, porcelain, marble, and natural stone tiles. Whether for a kitchen, hallway, or commercial space, our team ensures flawless results every time.
Step 1: Prepare the Subfloor
Before laying any tiles, you need a clean, dry, and level surface. A properly prepared subfloor prevents uneven tiles, cracks, and loose flooring in the future.
- Remove any old flooring, adhesives, or debris.
- Check for cracks or dips in the surface and repair them.
- Make sure the subfloor is strong enough to support tile weight, especially for natural stone tiles.
Step 2: Plan Your Layout
Careful planning helps you avoid awkward cuts and uneven edges.
- Start by finding the center of the room and use chalk lines to create guidelines.
- Dry-lay a few tiles to see how the layout will look.
- Adjust placement so that cut tiles are distributed evenly at the edges.
Step 3: Apply the Mortar
Thin-set mortar acts as the adhesive for your tiles.
- Mix according to manufacturer instructions.
- Spread the mortar with a notched trowel, working in small sections.
- Hold the trowel at a 45-degree angle for consistent coverage.
Step 4: Lay the Tiles
Now comes the fun part—placing the tiles.
- Press tiles firmly into the mortar, starting at the center and working outward.
- Use spacers between tiles for even grout lines.
- Check alignment regularly with a level.
Step 5: Cut Tiles for Edges and Corners
Few rooms fit tiles perfectly without cutting.
- Use a wet saw or tile cutter for clean cuts.
- Always measure twice before cutting.
- Wear safety gear to protect your eyes and hands.
Step 6: Apply the Grout
After the mortar has cured (usually 24 hours), it’s time to grout.
- Spread grout over the tiles with a rubber float.
- Press the grout into joints, holding the float at an angle.
- Wipe away excess with a damp sponge, and polish tiles once dry.
Step 7: Seal (If Needed)
Porcelain and ceramic tiles often don’t require sealing, but natural stone tiles usually do.
- Apply a high-quality sealer to protect tiles and grout from stains and moisture.
Common Mistakes to Avoid
- Skipping subfloor preparation.
- Using too much or too little mortar.
- Rushing grout cleanup (which can leave a haze).
- Not allowing enough curing time before walking on the floor.
Professional Tile Installation Services
Installing a tile floor requires patience, precision, and the right tools. While it’s possible as a DIY project, achieving a professional-grade finish is challenging. That’s where First Quality Tiling can help.
We provide expert floor tiling services with attention to detail and lasting results. From kitchen tiling to bathroom tiling, and even large-scale commercial tiling, our experienced team guarantees perfection.
For inspiration and additional tips, you can also check out The Tile Council of North America for industry guidelines.
Final Thoughts
Learning how to install tile floor gives you insight into the process, but for a durable and flawless finish, professional installation makes all the difference. At First Quality Tiling, we take pride in delivering top-quality results with every project.
Ready to upgrade your space with a stunning new floor? Contact us today for a free consultation, and let our experts bring your vision to life.


Hi, this is a comment.
To get started with moderating, editing, and deleting comments, please visit the Comments screen in the dashboard.
Commenter avatars come from Gravatar.
Great post! Installing a tile floor can completely refresh a room, and following a step-by-step approach makes the process much more manageable. Careful surface preparation, accurate layout, and proper grout application are key to achieving a professional finish.