
Waterproofing is one of the most important parts of any bathroom renovation. Without proper waterproofing, water can seep into walls and floors, leading to mould, structural damage, and expensive repairs. If you’re planning a renovation or building a new bathroom, understanding how to waterproof a bathroom properly is essential.
In this guide, we’ll walk you through the process and explain why professional waterproofing is often the smartest investment.
Why Bathroom Waterproofing Is So Important
Bathrooms are constantly exposed to moisture from showers, baths, sinks, and humidity. Over time, even small leaks can cause:
- Rotting timber frames
- Damaged plaster and tiles
- Mould growth
- Structural weakening
In Australia, bathroom waterproofing must comply with AS 3740 waterproofing standards, making professional installation even more important.
Step-by-Step: How to Waterproof a Bathroom
1. Prepare the Surface
Before applying any waterproofing product, the surface must be:
- Clean and dust-free
- Dry and smooth
- Structurally sound
Cracks or holes should be repaired first. Proper surface preparation ensures the membrane bonds correctly.
2. Install Bond Breakers
Bond breakers are flexible materials applied to corners and joints. These allow slight movement between surfaces without cracking the waterproof membrane.
They are usually installed in:
- Wall-to-floor junctions
- Internal corners
- Around pipes and drains
3. Apply the Waterproofing Membrane
This is the most critical step.
A liquid waterproof membrane is typically applied using a roller or brush. It creates a sealed barrier that prevents water from penetrating surfaces.
Key areas to waterproof:
- Shower floor and walls
- Entire bathroom floor
- Around bathtubs and basins
- At least 150mm up the walls
- Full height in shower areas
Two coats are usually applied, allowing proper drying time between each layer.
4. Allow Proper Curing Time
The membrane must fully cure before tiling begins. This can take 24–48 hours depending on the product and weather conditions.
Rushing this step can compromise the entire waterproofing system.
5. Tiling Over the Waterproofed Surface
Once cured, tiles can be installed using the appropriate adhesive. Proper grouting and sealing further protect the bathroom from moisture.
Can You DIY Bathroom Waterproofing?
While DIY waterproofing products are available, bathroom waterproofing in Australia must meet strict building codes. Incorrect application can:
- Void insurance claims
- Fail building inspections
- Cause costly water damage later
For this reason, hiring a licensed waterproofing professional is highly recommended.
Signs Your Bathroom Needs Re-Waterproofing
- Cracked or lifting tiles
- Persistent mould smell
- Water stains on ceilings below
- Damp walls or bubbling paint
If you notice these signs, it may be time for professional waterproofing or re-waterproofing.
Professional Bathroom Waterproofing Matters
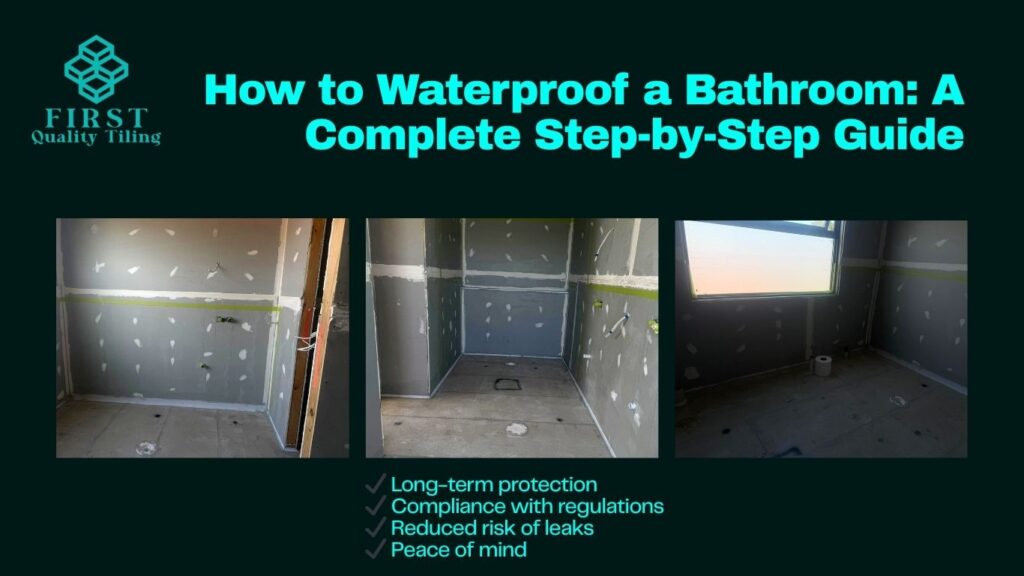
Professional tilers and waterproofers use certified systems that comply with Australian Standards. This ensures:
✔ Long-term protection
✔ Compliance with regulations
✔ Reduced risk of leaks
✔ Peace of mind
Final Thoughts
Understanding how to waterproof a bathroom helps you protect your home from serious water damage. While the process may seem straightforward, proper preparation, application, and compliance with standards are essential for lasting results.
If you’re renovating or concerned about leaks, working with an experienced waterproofing specialist can save you time, stress, and money in the long run.
👉 Need expert bathroom waterproofing in Burton, SA?
Contact us, we are the trusted local professional to ensure your bathroom is sealed properly and built to last.