
When it comes to floor tiling, the finishing touches matter just as much as the tiles themselves. Grouting is one of the most important steps in achieving a flawless look and ensuring your tiles last for years. At First Quality Tiling, we’ve helped countless South Australian homeowners transform their spaces with expert tile flooring solutions. Today, we’ll guide you through the essentials of how to grout floor tiles—and why working with professionals can make all the difference.
Why Grouting Matters in Floor Tiling
Grout isn’t just there to fill gaps between floor tiles—it plays a structural and aesthetic role. Proper grouting:
- Keeps tiles firmly in place
- Prevents dirt, dust, and moisture from seeping into gaps
- Enhances the visual appeal of your tile flooring
- Extends the durability of your flooring investment
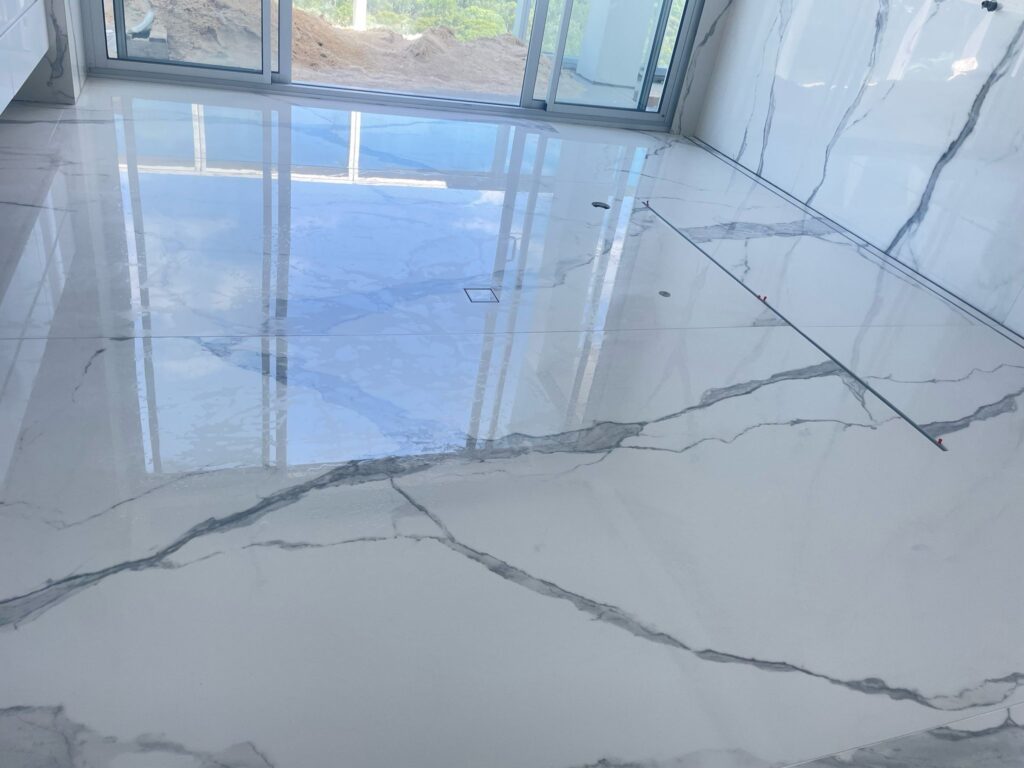
Without quality grouting, even the best stone and tile flooring can develop problems such as loosening, cracks, or staining.
Step-by-Step Guide: How to Grout Floor Tiles
If you’re considering a DIY project, here’s a simplified process to help you understand the basics:
- Prepare the Surface
Make sure your floor tile installation is set and dry. Remove any spacers and clean away debris. - Mix the Grout
Follow manufacturer guidelines to achieve the right consistency—smooth but not runny. - Apply the Grout
Using a rubber grout float, press the grout firmly into the gaps at a 45-degree angle. - Remove Excess
Scrape off extra grout by running the float diagonally across the tile flooring. - Clean the Surface
After 15–30 minutes, wipe tiles with a damp sponge to clear haze and smooth lines. - Final Curing
Allow grout to set fully (typically 24–48 hours). Seal it if recommended, especially for stone and tile flooring.
DIY vs. Professional Floor Tiling
While grouting seems simple, achieving a clean, durable, and professional finish requires experience. Common DIY issues include uneven grout lines, premature cracking, or using the wrong type of grout for your specific tile flooring.
At First Quality Tiling, we provide expert floor tiling in Adelaide, ensuring precision, durability, and a premium finish. Whether it’s porcelain, ceramic, or tile and stone flooring, we bring both craftsmanship and peace of mind.
Filling the Gap: Why Online Tutorials Aren’t Enough
Many guides on how to grout floor tiles explain the process but overlook local considerations such as South Australian climate conditions, subfloor preparation, or the choice of grout suited for Adelaide homes. These details can make or break your installation.
Instead of relying on one-size-fits-all advice, partnering with a professional tiler ensures that your flooring floor tiles are tailored to your home’s needs and built to last.
Explore More with First Quality Tiling
Looking to upgrade your home with stunning tile flooring tiles? At First Quality Tiling, we specialise in:
- Bathroom Tiling Services
- Kitchen Splashback Tiling
- Outdoor Tiling Solutions
From modern finishes to timeless tile flooring online styles, our team guarantees first-class results.
For more technical insights into grout and its applications, you can visit the Australian Tile Council.
Call the Experts for Floor Tiling in Adelaide
If you’re planning a renovation or simply want to refresh your flooring, don’t leave your investment to chance. At First Quality Tiling, we combine skill, experience, and quality materials to deliver flawless results across Adelaide.
Contact us today for a free consultation and let’s bring your floor tiling project to life with unmatched precision and style.
Tile Design & Installation in melbourne