
Wall tiling is one of the most effective ways to transform a space—whether it’s a kitchen, bathroom, or living area. Beautifully tiled walls not only protect your surfaces but also enhance the overall aesthetics of your home. If you’ve been searching for how to tiling a wall in the most efficient way, this guide will provide professional insights along with expert tips.
At First Quality Tiling, we don’t just deliver flawless installations; we also help homeowners and businesses understand the art and science behind tiling.
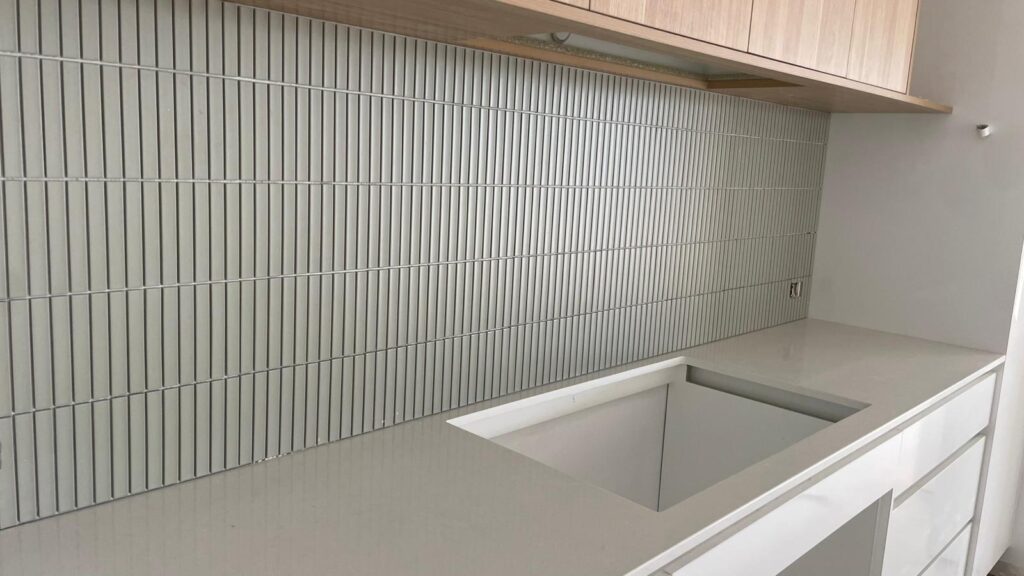
Why Choose Wall Tiling?
Wall tiles are durable, versatile, and stylish. They provide:
- Long-lasting protection against moisture and stains.
- Easy maintenance, perfect for high-traffic areas like kitchens and bathrooms.
- Endless design possibilities with colors, textures, and patterns.
Whether you want modern minimalism or classic elegance, wall tiling allows you to achieve your dream look.
Step-by-Step Guide: How to Tiling a Wall
Here’s a simplified breakdown of the wall tiling process:
1. Surface Preparation
The first step in how to tiling a wall is preparing the surface. The wall should be clean, dry, and smooth. Any cracks or imperfections must be repaired before starting.
2. Planning & Measuring
Measure the wall and plan the tile layout. This prevents awkward cuts and ensures a symmetrical design. Use tile spacers to achieve even grout lines.
3. Applying Adhesive
Choose the right adhesive based on the type of tile and surface. Spread the adhesive evenly with a notched trowel.
4. Placing the Tiles
Place the tiles carefully, pressing them firmly into the adhesive. Work in small sections to maintain accuracy.
5. Cutting & Adjustments
Use a tile cutter for precision cuts around edges, sockets, or corners. This ensures a professional finish.
6. Grouting
Once the adhesive is set, apply grout between the tiles. Wipe away excess grout with a damp sponge.
7. Finishing Touches
After drying, polish the tiles to bring out their natural shine. Seal the grout if needed for extra protection.
Professional vs. DIY Tiling
While learning how to tiling a wall can be useful, DIY projects often lead to uneven finishes or wasted materials. Professional tilers, like our team at First Quality Tiling, bring years of expertise, high-quality tools, and design knowledge to ensure perfection.
Explore our Tiling Services and Stone Finishes for premium solutions tailored to your space.
Common Mistakes to Avoid
- Skipping preparation: Not cleaning or leveling walls leads to poor adhesion.
- Incorrect adhesive: Using the wrong product causes tiles to loosen over time.
- Poor alignment: Without proper planning, tiles look unbalanced.
Hiring experts prevents these issues and guarantees long-term durability.
External Resources
For additional inspiration on wall tiling ideas and standards, you can check the World Tile Association for professional guidelines and international best practices.
Why Choose First Quality Tiling?
At First Quality Tiling, we pride ourselves on delivering exceptional craftsmanship and personalised designs. Whether you want to tile a feature wall, renovate a bathroom, or upgrade your kitchen, our services ensure a flawless finish every time.
- Experienced tiling professionals
- Premium materials and adhesives
- Customized designs to match your style
- Affordable, transparent pricing
Call to Action
Are you ready to upgrade your home with expert tiling? Stop worrying about how to tiling a wall—let the professionals handle it for you.
Contact First Quality Tiling today for a free consultation and discover how we can bring elegance, durability, and value to your walls.